29
Apr, 2020


Article on How to Setup Thunderbird in Windows Desktop
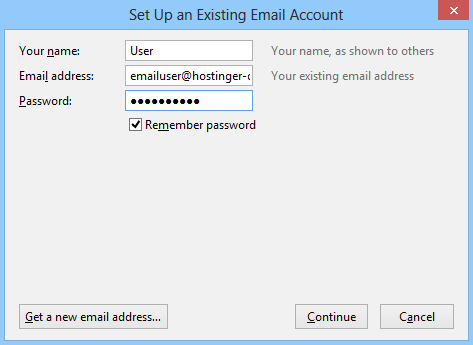
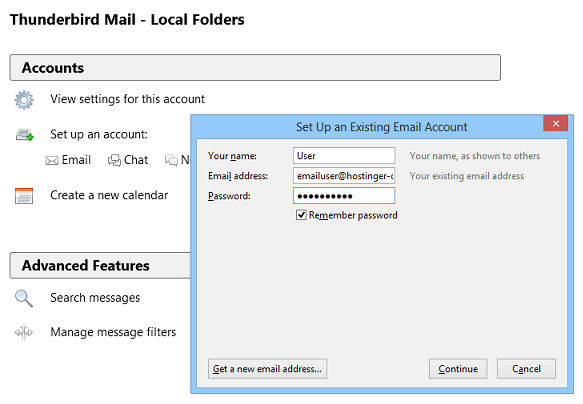
1. Open the Thunderbird client by double clicking the icon in your desktop and make sure the menu bar is enabled. If not, right click on a blank area at the top of the thunderbird application then put a check mark on the menu bar. Then click Tools > Account Settings > Account Actions. Under Account Actions click Add Mail Account and fill up the following fields:
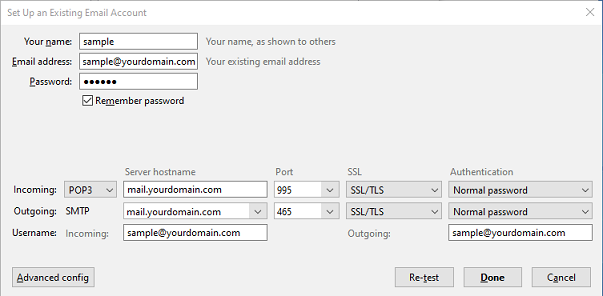
2. Manual Configuration
After you fill up the necessary fields click manual config and change the following fields.
Username Incoming and Outgoing – account you use on your email
Click Re-test to check if there are corrections. If none, click Done.
3. You are now ready to use your email account using Thunderbird.
Copyright © 2020 Cid Systems Inc. / Terms of Service
 (632) 7753.18.14
 sales@cid-systems.com

